Laying carpet yourself is a great way to save money while giving your home a warm, comfortable, and stylish finish. With the right preparation and tools, you can achieve a professional result even as a beginner.
In this guide, we'll show you how to lay carpet step by step to make the process easy to follow.
Table of Contents
-
Why Choose Carpet Flooring
-
What You’ll Need
-
Step-by-Step: How To Lay Carpet
1. Prepare the Subfloor
2. Measure and Plan
3. Cut Carpet to Size
4. Apply Grippers/Adhesive and Underlay
5. Stretch and Fit the Carpet
6. Trim and Tuck Edges
-
Tips for Best Results
-
Final Note: Transform Your Space
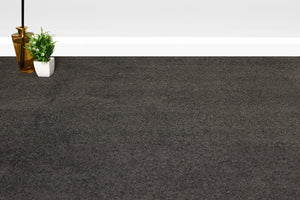
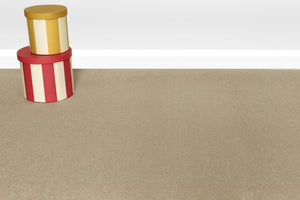
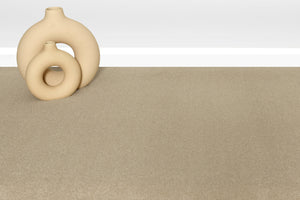
Why Choose Carpet Flooring
Carpet remains one of the most popular flooring choices because it’s:
-
Soft and comfortable underfoot
-
Great for insulation and warmth
-
Effective at soundproofing rooms
-
Available in a huge range of colours and styles
-
Affordable compared to many hard flooring options
Browse our full carpet collection
What You’ll Need
-
Tape measure
-
Utility knife
-
Knee kicker
-
Carpet stretcher
-
Carpet tucker / bolster
-
Grippers / Spray Adhesive
-
Carpet underlay
-
Hammer
-
Seam roller (for joins)
-
Gloves for safety
Step-by-Step: How To Lay Carpet
1. Prepare the Subfloor

-
Remove old flooring and debris.
-
Sweep or vacuum thoroughly.
-
Check for damage or uneven areas.
-
Fill holes or cracks with floor filler.
-
Allow everything to dry completely before moving on.
2. Measure and Plan

-
Measure the room’s length and width.
-
Add about 10 cm extra on each side for trimming.
-
Sketch a simple floor plan with measurements.
-
Plan seam placement if using multiple pieces.
3. Cut Carpet to Size

-
Roll out the carpet in a large clean area.
-
Mark measurements with chalk or pencil.
-
Cut carefully with a utility knife along a straight edge.
-
Label pieces if working in multiple areas.
4. Apply Grippers and Underlay

-
For Action Backed Carpets:
-
Nail Grippers around the room perimeter, leaving ~1 cm gap from the wall.
-
Lay down the underlay in strips.
-
Trim to fit snugly inside the Grippers.
-
Staple or lightly glue underlay to secure it.
-
For Felt Backed Carpets:
-
Spray adhesive around the room perimeter about 1 cm in from the wall.
-
Lay down the underlay in strips.
-
Trim to fit snugly inside the adhesive line.
-
Press the underlay firmly into place to bond it securely.
5. Stretch and Fit the Carpet

-
Place the carpet over the underlay, with excess overlapping all sides.
-
Use a knee kicker to push the carpet onto the Grippers along edges for action backed or press it over the underlay for felt backed.
-
Smooth wrinkles toward the walls.
-
For larger rooms, use a carpet stretcher to pull carpet tight.
6. Trim and Tuck Edges

-
Use a utility knife to trim excess carpet along walls.
-
Tuck edges neatly between the Grippers and wall using a carpet tucker or bolster.
-
Make clean, straight cuts around corners, doorways, and pipes.
Tips for Best Results
-
Let the carpet acclimate in the room for 24 hours before installation.
-
Always use sharp blades for clean cuts.
-
Wear gloves to protect your hands.
-
Work methodically around the room to ensure even stretching.
-
Take extra care at seams and doorways.
Final Note: Transform Your Space
Laying carpet yourself is a rewarding DIY project that can truly transform your home with warmth and style. With the right preparation, tools, and a little patience, you can achieve a professional finish that feels great underfoot.
Ready to get started?
Browse our full carpet collection or contact us today for expert advice, samples, and support.